Use Multi- Office Management
Enable Multi-Office Management
While enabling this feature, you have two options:
Build Multi- Office hierarchy from scratch - Using this option, you can create Multi- Office hierarchy from scratch.
Extend your Multi- Office hierarchy from role hierarchy - Using this option, you can replicate the hierarchy from Roles to Multi- Office. All the users in a role will be added as user in the Multi- Office. The role managers (in the new role hierarchy) will be transferred as Multi- Office managers. You may later have to change the Multi- Office hierarchy as per you business needs.
It is important to note that you can either build Multi- Office hierarchy from scratch or extend your role hierarchy to territory hierarchy. Once the option is chosen, you cannot go back to the other option.
Once territory management is enabled:
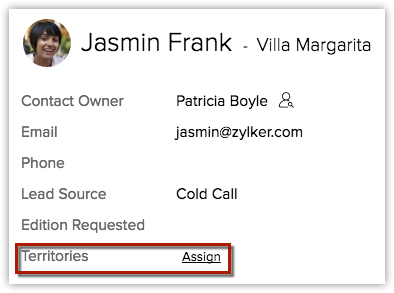
- All the accounts, clients will have an additional field, Territories.
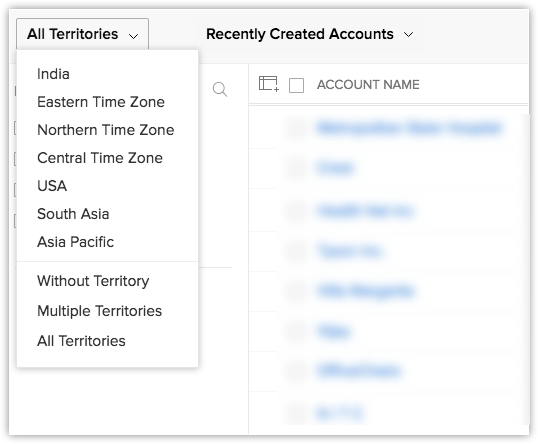
- In the accounts, clients home page, a drop-down will be available with the Multi- Office that you create.
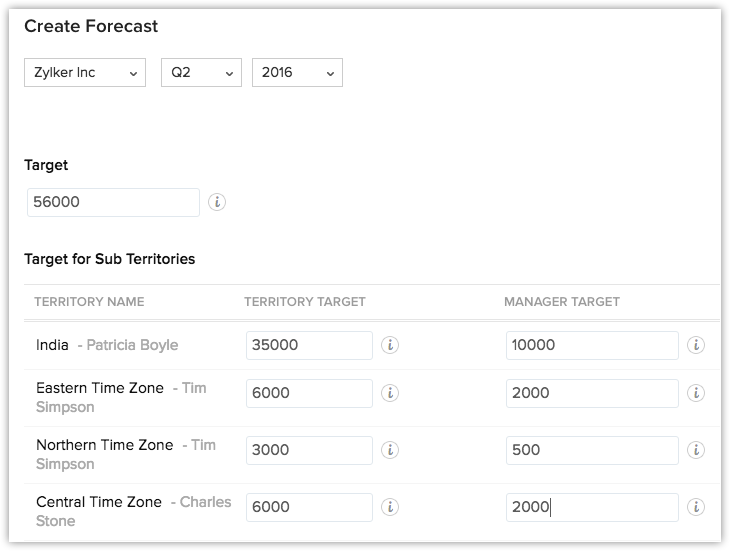
- You will have the option to create forecasts based on Multi- Office hierarchy. Users belonging to multiple Multi- Office can have multiple forecast targets set for each territory.
To enable Multi- Office management
- Click Setup > Multi- Office Management > Multi- Offices
- Click Get Started. You will have the following options to create a Multi- Office hierarchy.
- Extend from Role Hierarchy - Click to replicate the hierarchy from roles to Multi- Offices.
- Start from Scratch - Click to create Multi- Office hierarchy from scratch.
Create Territories
Users with the Administrator profile can create Multi- Offices. Multi- Offices managers also have the default privilege to create sub Multi- Offices for their Multi- Offices.
To create a Multi- Offices
- Click Setup > Multi- Offices Management > Multi- Offices.
- Click New Multi- Offices.
- In the Create Multi- Office page, specify the following:
- Specify a Name for the territory.
- Choose a Multi- Office Manager from the drop-down list.
- Choose a Parent Multi- Office from the lookup.
- Search and add Users and allot Permissions.
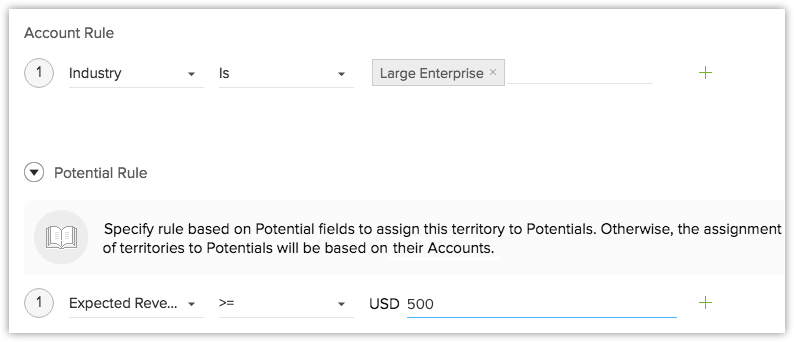
These users will have access to the records assigned to this territory. All the users can have the same permission for the records, either Read Only or Read/Write/Delete. - Under Account Rule, specify criteria for accounts.
Based on this rule criteria, territories will be assigned to accounts in Client management system. -
- Enter Description.
- Click Create.
Delete Multi- Offices
To delete a territory
- Click Setup > Multi- Office Management > Multi- Offices.
- In the Multi- Office Hierarchy page, move your mouse pointer to a Multi- Office and click on the Delete icon.
Related Articles
Multi-office management (Territory management)
What is Multi-Office Management? When your business is spread across regions and you have multiple office divisions, departments and numerous products/services, it is not an easy task to assign customer accounts to sales teams without proper ...Assigning Multi-Offices
How are Multi-Offices Assigned? Automatically Multi-Offices are automatically assigned to accounts, clients when they are created or modified. When a record meets the criteria of a Multi-Offices, only then is it validated for its sub Multi-Offices. ...Use Signature
While sending emails to your customers, you can embed a signature automatically in the body of the message. Signatures can be customized as per your requirement. To use the signature feature Click Setup > Personal Settings > Account Information. In ...I have multiple email lists in my account, is it possible to use a separate signup form for each?
Yes, email marketing provides you with a signup form for each list you create (provided the lists allows subscription through your signup form or the subscribe link in your email footer) . You can also customize your signup form to match your website ...How can I use Workflow?
Workflows are available in the following modules, Requests, Solutions, Contacts, Accounts, Contracts & Products In all organization, a pre-defined process will be followed for assignment of tickets, tracking status, setting due dates & sending ...